Image node
In the image node you can upload an image directly, or enter a prompt to generate an AI image. Connect it to an AI prompt generation node and the generated prompt is used for image generation as is.
Node screen
Enter a generation prompt at the bottom of the image node, choose the model and ratio from the options at the lower left, then generate the image.
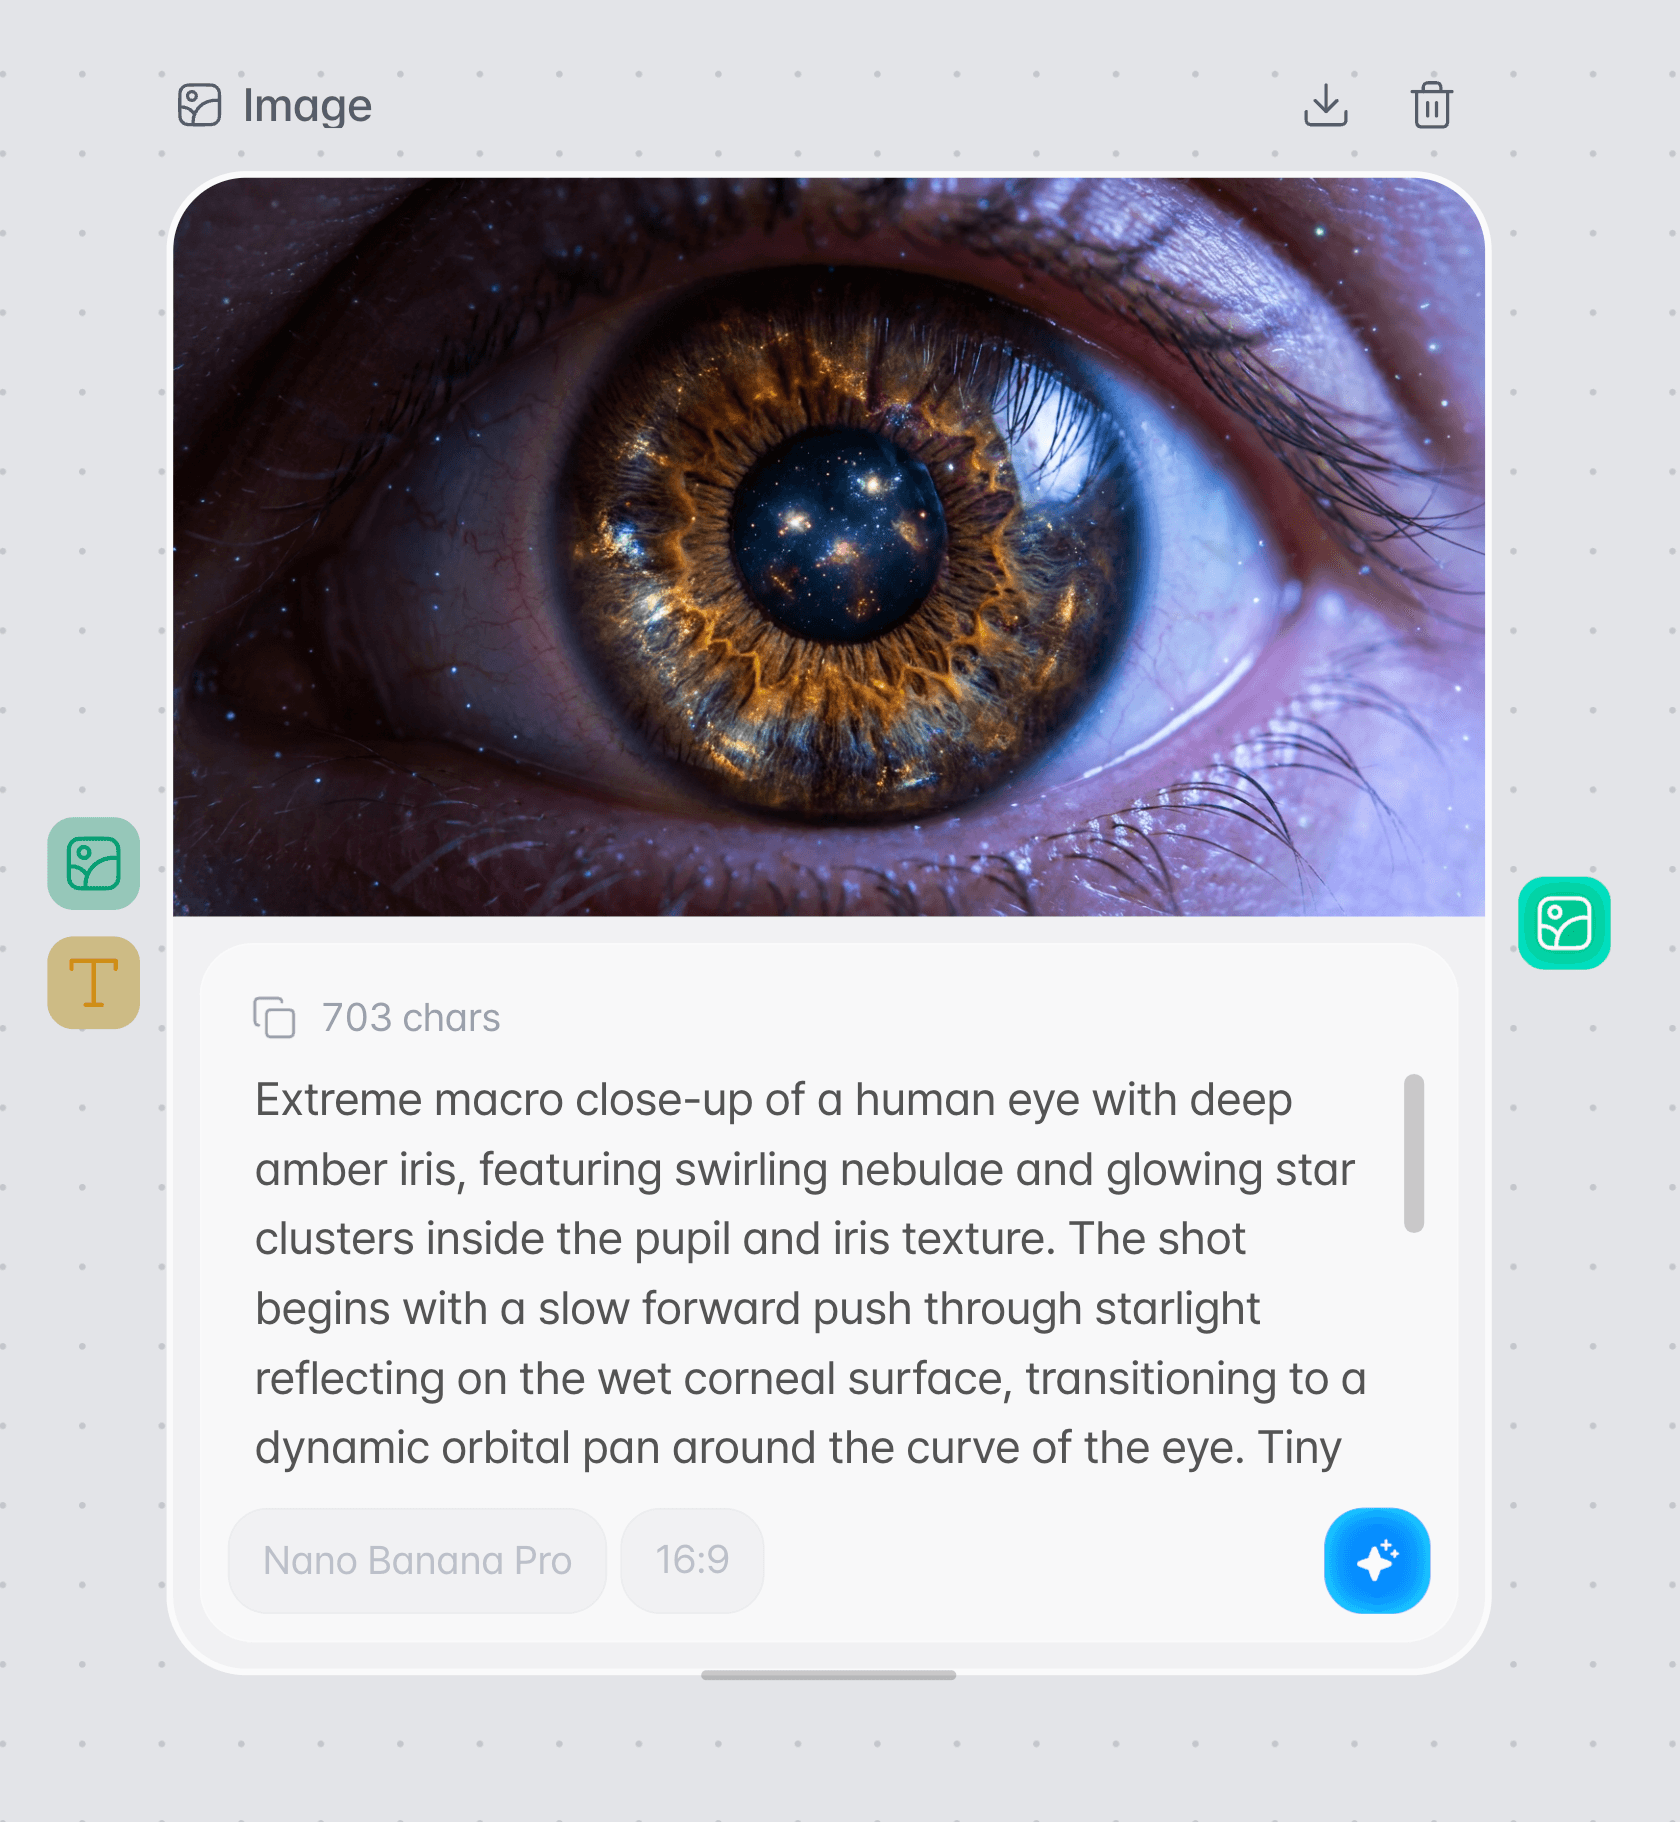
Two ways to use images
The image node can be used in two ways: with an image you upload yourself, or by generating a new image from a text prompt.
Upload an image directly
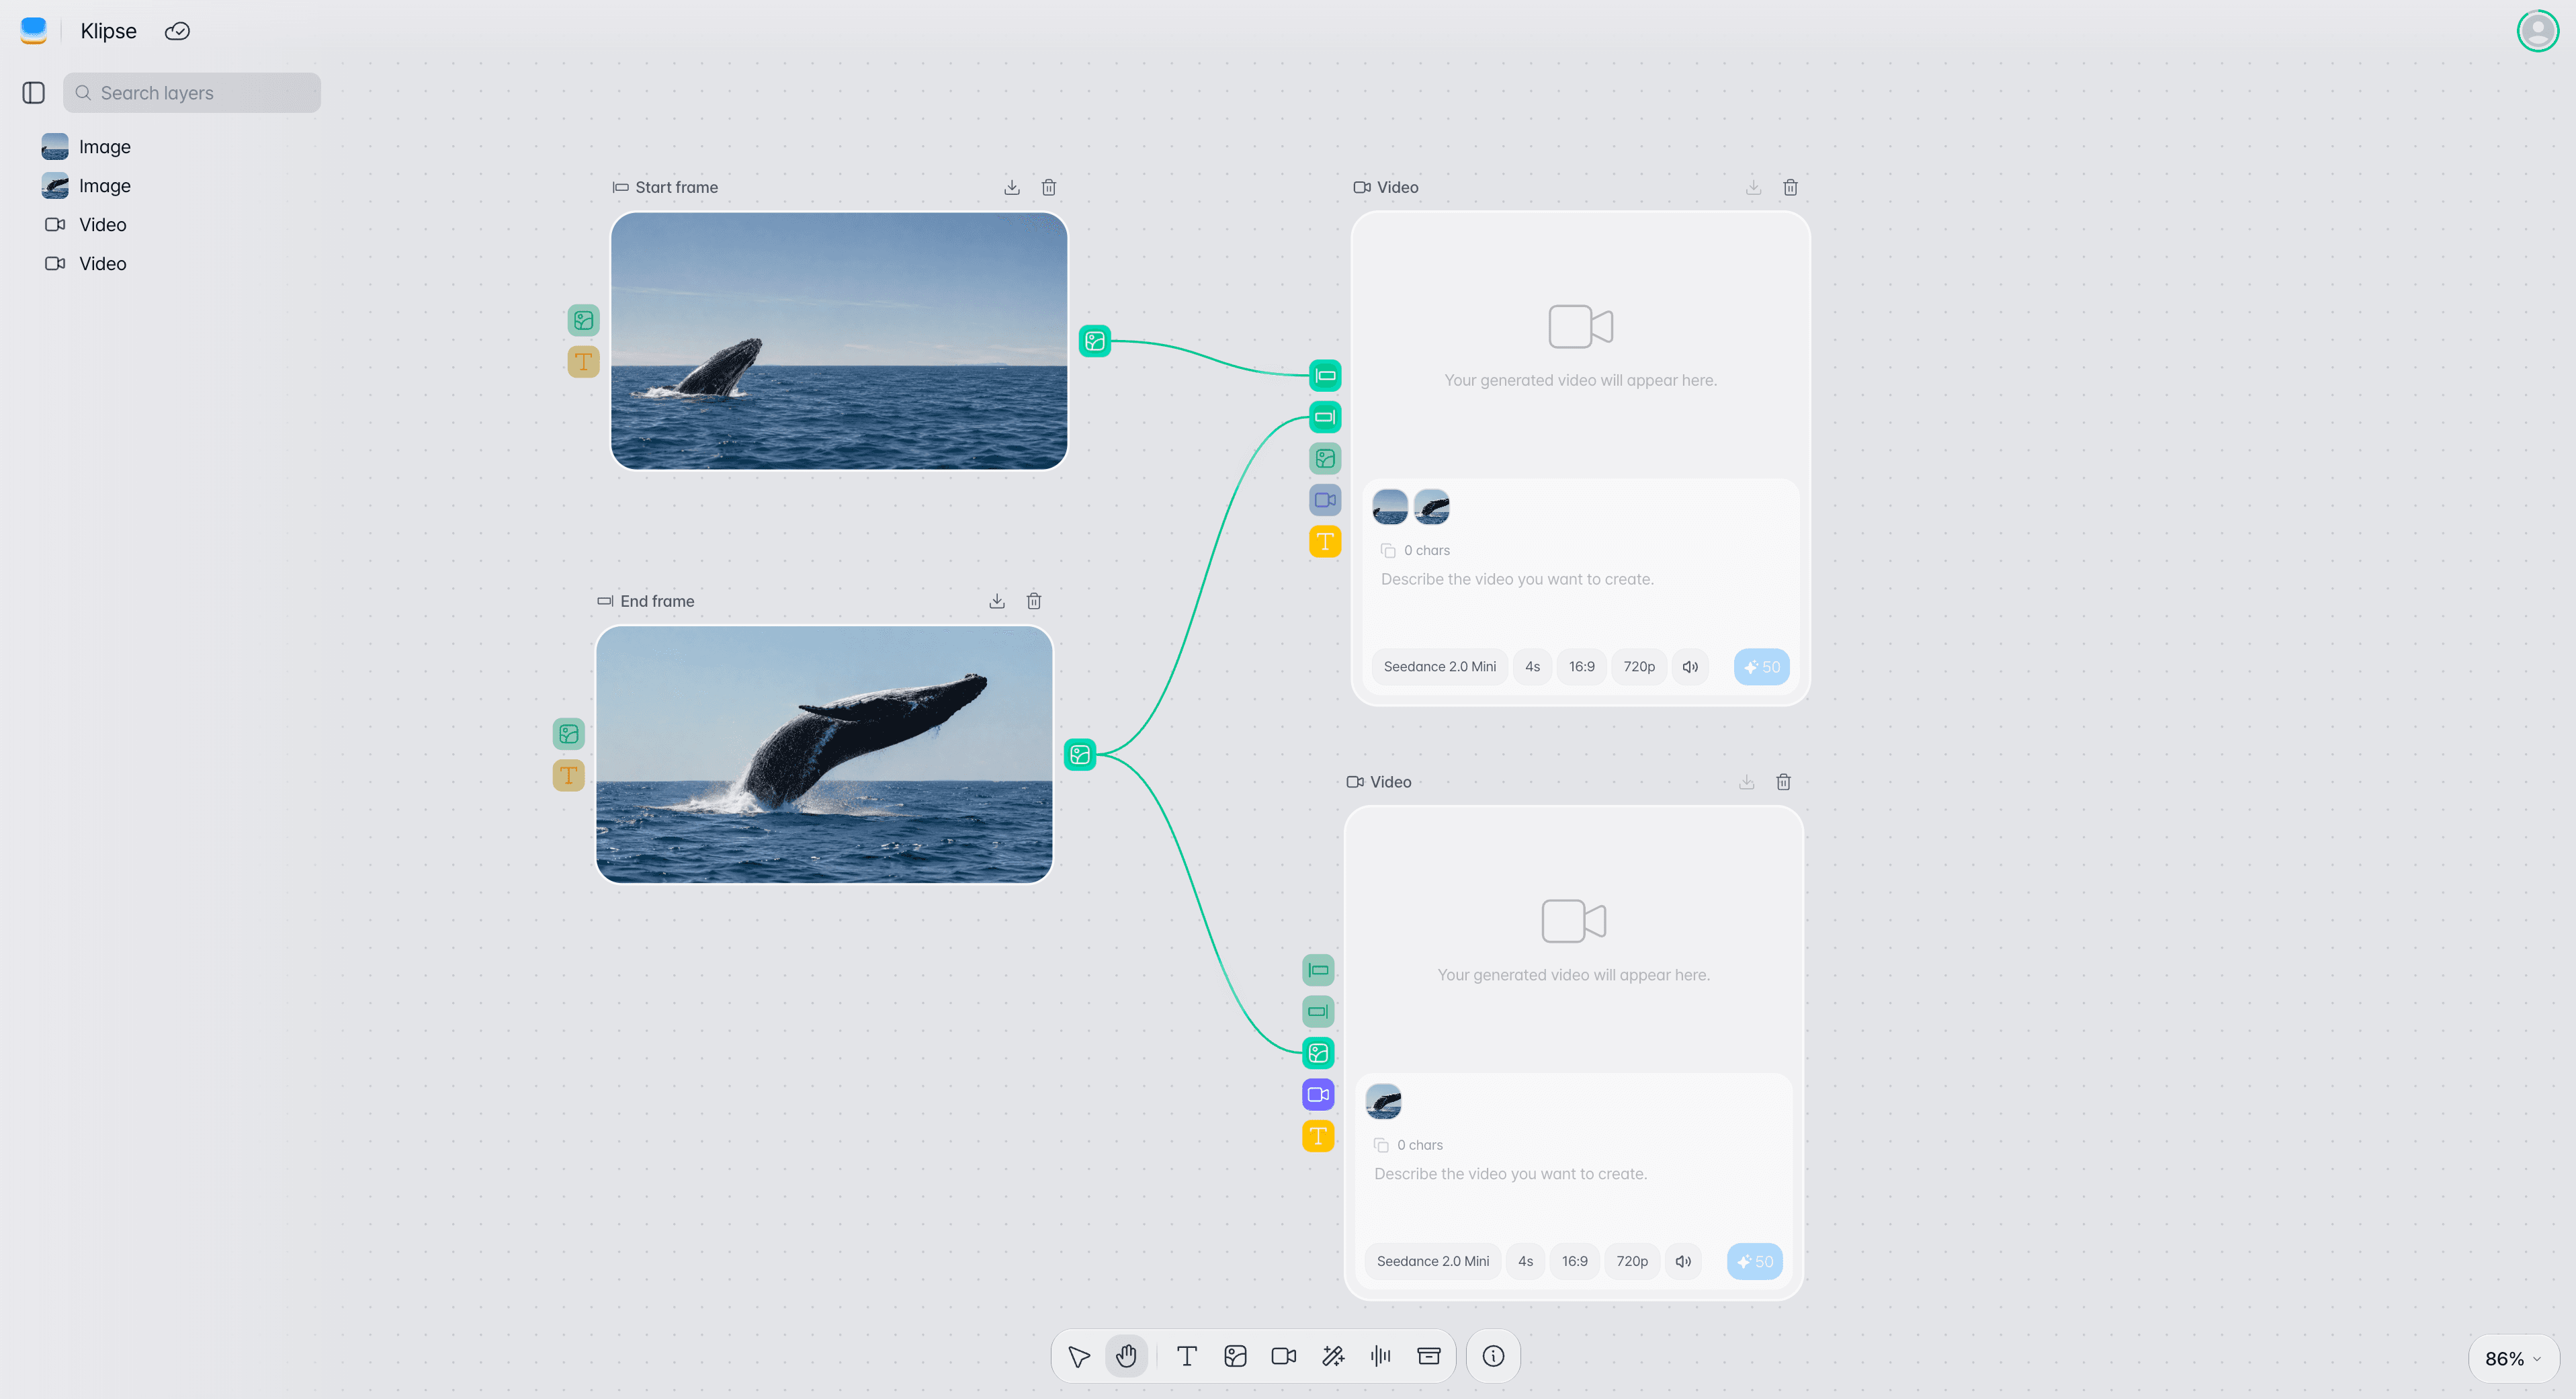
Upload an image you already have to the node and use it in later work. The uploaded image can be connected as the input image of the next node, for example video generation.
AI image generation
Enter a prompt for the image you want, or connect an AI prompt generation node, to generate an image.
How to use
Set the prompt and the generation options, then run image generation.
Add an image node.
Add an image node in Canvas.
Enter a prompt.
Enter the subject, mood, background, and composition of the image you want. You can also connect an AI prompt generation node to supply it.
Choose the model, ratio, and quality.
Use the options at the lower left to set the generation model and the ratio of the resulting image. With a GPT Image model, set the quality as well.
Generate the image.
Press the generate button and an image is generated from the settings you chose and shown in the node's result area.
Generation options
You can choose the model, ratio, and quality before generating an image. The qualities available depend on the model.
Model
Choose the AI model to use for image generation.
- GPT Image 2.5 Flare
- GPT Image 2.5 Sunburst
- GPT Image 2
- Nano Banana 2
- Nano Banana Pro
Ratio
Choose the aspect ratio of the image to generate.
- 1:1
- 2:3
- 3:2
- 3:4
- 4:3
- 4:5
- 5:4
- 9:16
- 16:9
- 21:9
Quality
Choose the quality level of the generated image. It is available only with GPT Image models: GPT Image 2.5 has five levels, and GPT Image 2 has three (Low, Medium, High).
- Low
- Medium
- High
- Extra High
- Max
Changing the camera angle
Turn an image node's image into a new image seen from a different direction, height, and distance. The original stays as it is, and the result is added as a new image node.
Select Camera angle from the image node's menu.
Right-click an image node that has a generated or uploaded image. The item does not appear while several nodes are selected together.
Pick the angle.
Drag the preview to set the direction and height, and hold ⌘ or Ctrl while scrolling, or pinch on a trackpad, to change the distance. When you let go, it snaps to the nearest angle. The arrow buttons on each row move it one step at a time, and the arrow keys also move the direction and height.
Generate the image.
The generate button shows the credits it needs (70). Select it, then Start generating in the Credit usage window. A new image node is added beside the original, already connected, and generation starts.
| Item | Values |
|---|---|
| Direction | Front, Front right 45°, Right side, Back right 45°, Back, Back left 45°, Left side, Front left 45° |
| Height | Low angle, Eye level, Elevated, High angle |
| Distance | Wide, Medium, Close-up |
Preview and result
The preview is only for picking an angle, so the result will look different. The result keeps the original's aspect ratio, and a node made with Camera angle has no model, ratio, or quality settings and no prompt input.
Input and output
| Item | Details |
|---|---|
| Input | A prompt you entered yourself, text passed from an AI prompt generation node, connected images (edit mode, up to 14), or an image you uploaded |
| Generation settings | Model, aspect ratio, quality (GPT Image models only) |
| Output | The generated or uploaded image |
Connecting to other nodes
Select the output point to choose what to do next with this image. To connect a node that already exists, drag the output point onto it.
Connect an AI prompt generation node
Connect an AI prompt generation node to the prompt input to generate an image without copying or retyping the prompt. Connect it before you generate the prompt, and the prompt is written for an image.
Connect a video node
Use the image you generated or uploaded as the input image for video generation.
| Menu item | Node added |
|---|---|
| Make a video | A video node that uses this image as its start frame |
| Use as a video reference | A video node that uses this image as a reference image |
| Make a new image | An image node that uses this image as a reference |
Tips
Decide the final content ratio first.
Choosing the ratio that matches the final content first — 9:16 for vertical short-form, 16:9 for standard video — makes the later video work easier.
Compare models in detail in AI Models.
This page explains how to choose a model. For what each model is good at and which tasks it suits, compare them side by side in AI Models · Image models.
Troubleshooting
| Problem | What to check |
|---|---|
| The generated image is not what you wanted | Check that the prompt includes enough of what you want, such as the subject, background, mood, and composition. |
| The AI prompt is not reaching the image node | Check that the text output port is correctly connected to the image node's text input port. |
| No result appears | Check that the prompt and the generation options are set, then run it again. |
| Camera angle is not in the menu | Check that only one image node is selected and that it has an image. The item does not appear before the node has an image or while several nodes are selected. |
Frequently asked questions
Can I upload an image directly?
Yes. You can upload an image you already have to the image node and use it as the input image of another node later.
Do I have to connect an AI prompt generation node?
No. You can enter the prompt directly in the image node, or connect an AI prompt generation node.
Which ratios can I use?
You can choose from 1:1, 2:3, 3:2, 3:4, 4:3, 4:5, 5:4, 9:16, 16:9, and 21:9.
Which image models can I use?
You can choose GPT Image 2.5 Flare, GPT Image 2.5 Sunburst, GPT Image 2, Nano Banana 2, and Nano Banana Pro. GPT Image 2.5 Flare is selected by default.