Video editor node
The video editor node brings the video, voice and sound, and images generated in Node Canvas together into one editing job. Connect the media nodes you need, then move to the editing screen to apply subtitles, audio, transitions, image overlays, and more.
Node screen
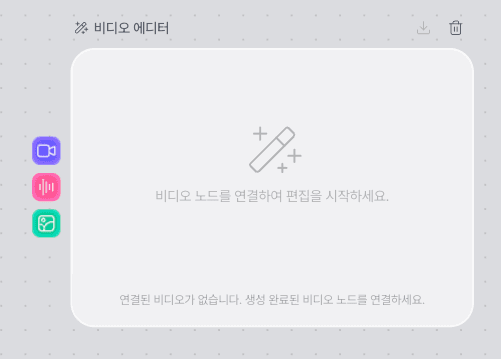
The video editor node appears empty until a video to edit is connected. Connect a video node and you can start editing.
Media you can connect
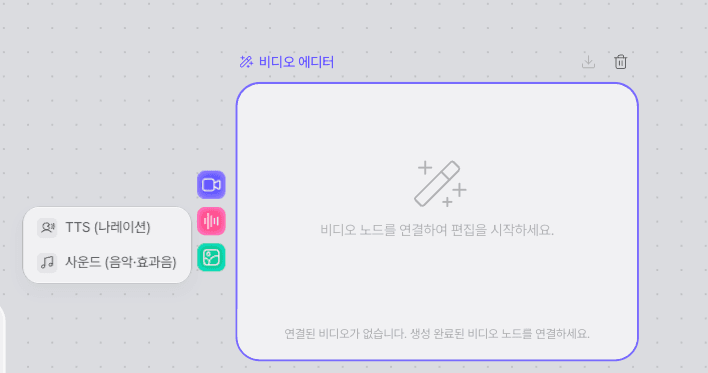
Connect the media your editing job needs to the video editor node's inputs.
Video
Connect video generated by a video node. The connected video is used as the base video source to edit in Video Editor.
TTS / sound
Connect TTS narration and sound nodes for music and effects, and use them as the audio sources for video editing.
Image
Connect an image node and use it as a watermark, a logo, an overlay image, or a still image inserted between videos.
Basic connection structure
Gather the media you generated into the video editor node, then move to the editing screen.
What you can do on the editing screen
After connecting media to the video editor node, do the actual video editing on the editing screen.
Video composition
Arrange several video clips in order and build the flow of the whole video.
Subtitles
Add the text and subtitles you need over the video to convey information about the content.
TTS · music · sound effects
Place the audio you connected on the timeline and use it as narration, background music, and sound effects.
Image overlay
Place images such as a logo or watermark over the video, or use still images as elements of the content.
Transitions
Apply transition effects between clips so that scenes connect to each other naturally.
How to use
Connect the media you need for editing, then work in Video Editor.
Add a video editor node.
Add a video editor node in Node Canvas.
Connect the video to edit.
Connect a video node that has finished generating to the video editor node.
Connect the audio and images you need.
Connect the extra media you will use in editing, such as TTS, music and sound effects, and images.
Move to the editing screen.
Start editing from the video editor node and the connected media is available in Video Editor.
Do the video editing.
Use clip composition, subtitles, audio, image overlays, and transitions to finish the video.
Inputs and their roles
| Input | Use |
|---|---|
| Video | Base video clip to edit |
| TTS | Narration and voice track |
| Sound | Background music and sound effects |
| Image | Watermark, logo, overlay, or a still image for editing |
Examples
Editing an AI ad video
Connect TTS narration, background music, and a brand logo image to your generated video clips and edit them into a single ad video.
Short-form from several scenes
Arrange several videos and images, then apply transitions and subtitles between scenes to build a single short-form video.
Troubleshooting
| Problem | What to check |
|---|---|
| Editing cannot be started | Check that a video node that has finished generating is connected to the video editor node. |
| TTS or sound is not shown | Check that the TTS or sound node has finished generating, then connect it to the audio input. |
| The image is not included in the edit | Check that the image node is connected to the video editor node's image input. |
Frequently asked questions
Can I open the editing screen without a video connected?
The video editor node needs a video source to edit, so we recommend connecting a finished video node first.
Can I use TTS and sound at the same time?
Yes. Connect TTS narration and music or sound effects separately and use them together while editing.
Can images only be used as watermarks?
No. Besides watermarks and logos, they can also be used as image overlays and as still image sources for building the video.