Basics
Learn the basics of building a project in Node Canvas — adding the nodes you need, entering their settings, and arranging them where they are easiest to work with.
Adding a node
Pick the feature your production process needs and add it to the Canvas as a node.
Open the node-adding menu.
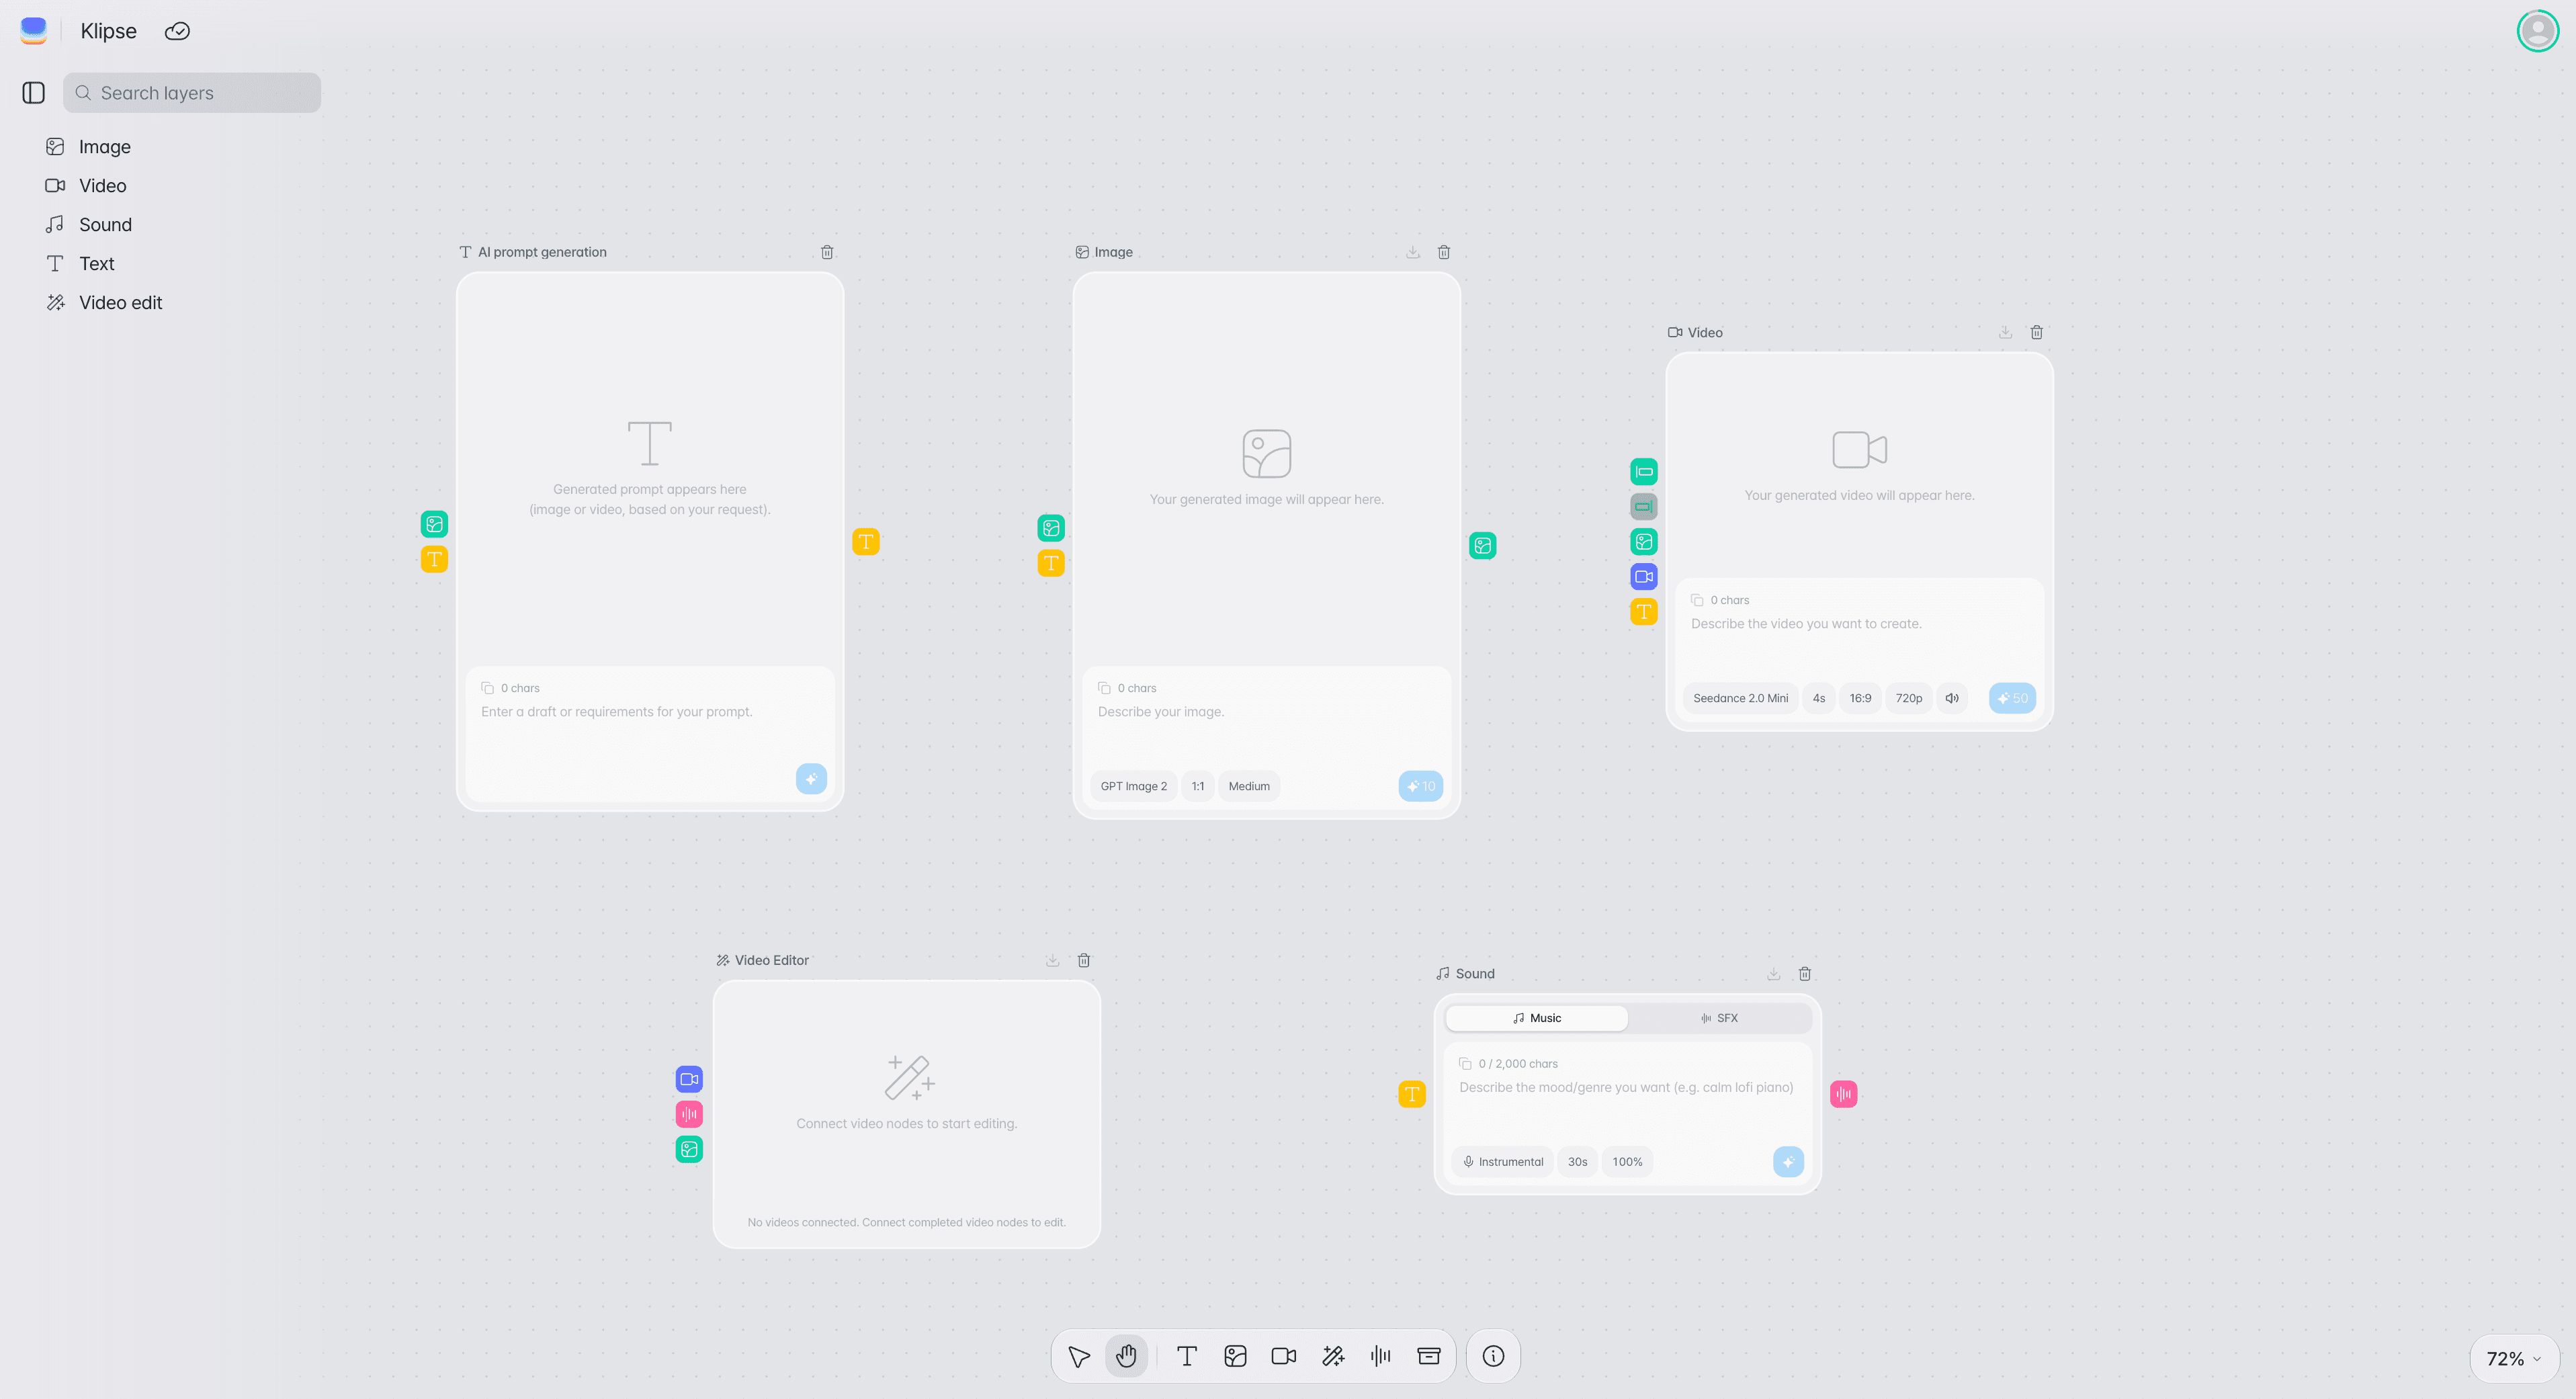
Check the list of nodes available on the Canvas.
Select the node you need.
Select the node that fits the task — text, image, video, audio, editing, upload, and so on.
Check the node added to the Canvas.
You can enter the settings you need on the node that was added.
Configuring a node
The options you need differ by node type — prompt, AI model, aspect ratio, video length, resolution, and so on.
Image node
Enter a prompt directly or connect a text node, and select the image aspect ratio and the AI model.
Video node
Uses a prompt and an image as input, and sets the model, length, aspect ratio, resolution, whether sound is included, and more.
TTS / sound node
Enter the script, voice, speed, and volume, or a description for generating music and sound effects.
YouTube node
Set the title, description, upload schedule, and the image to use as the thumbnail.
Uploading an image yourself
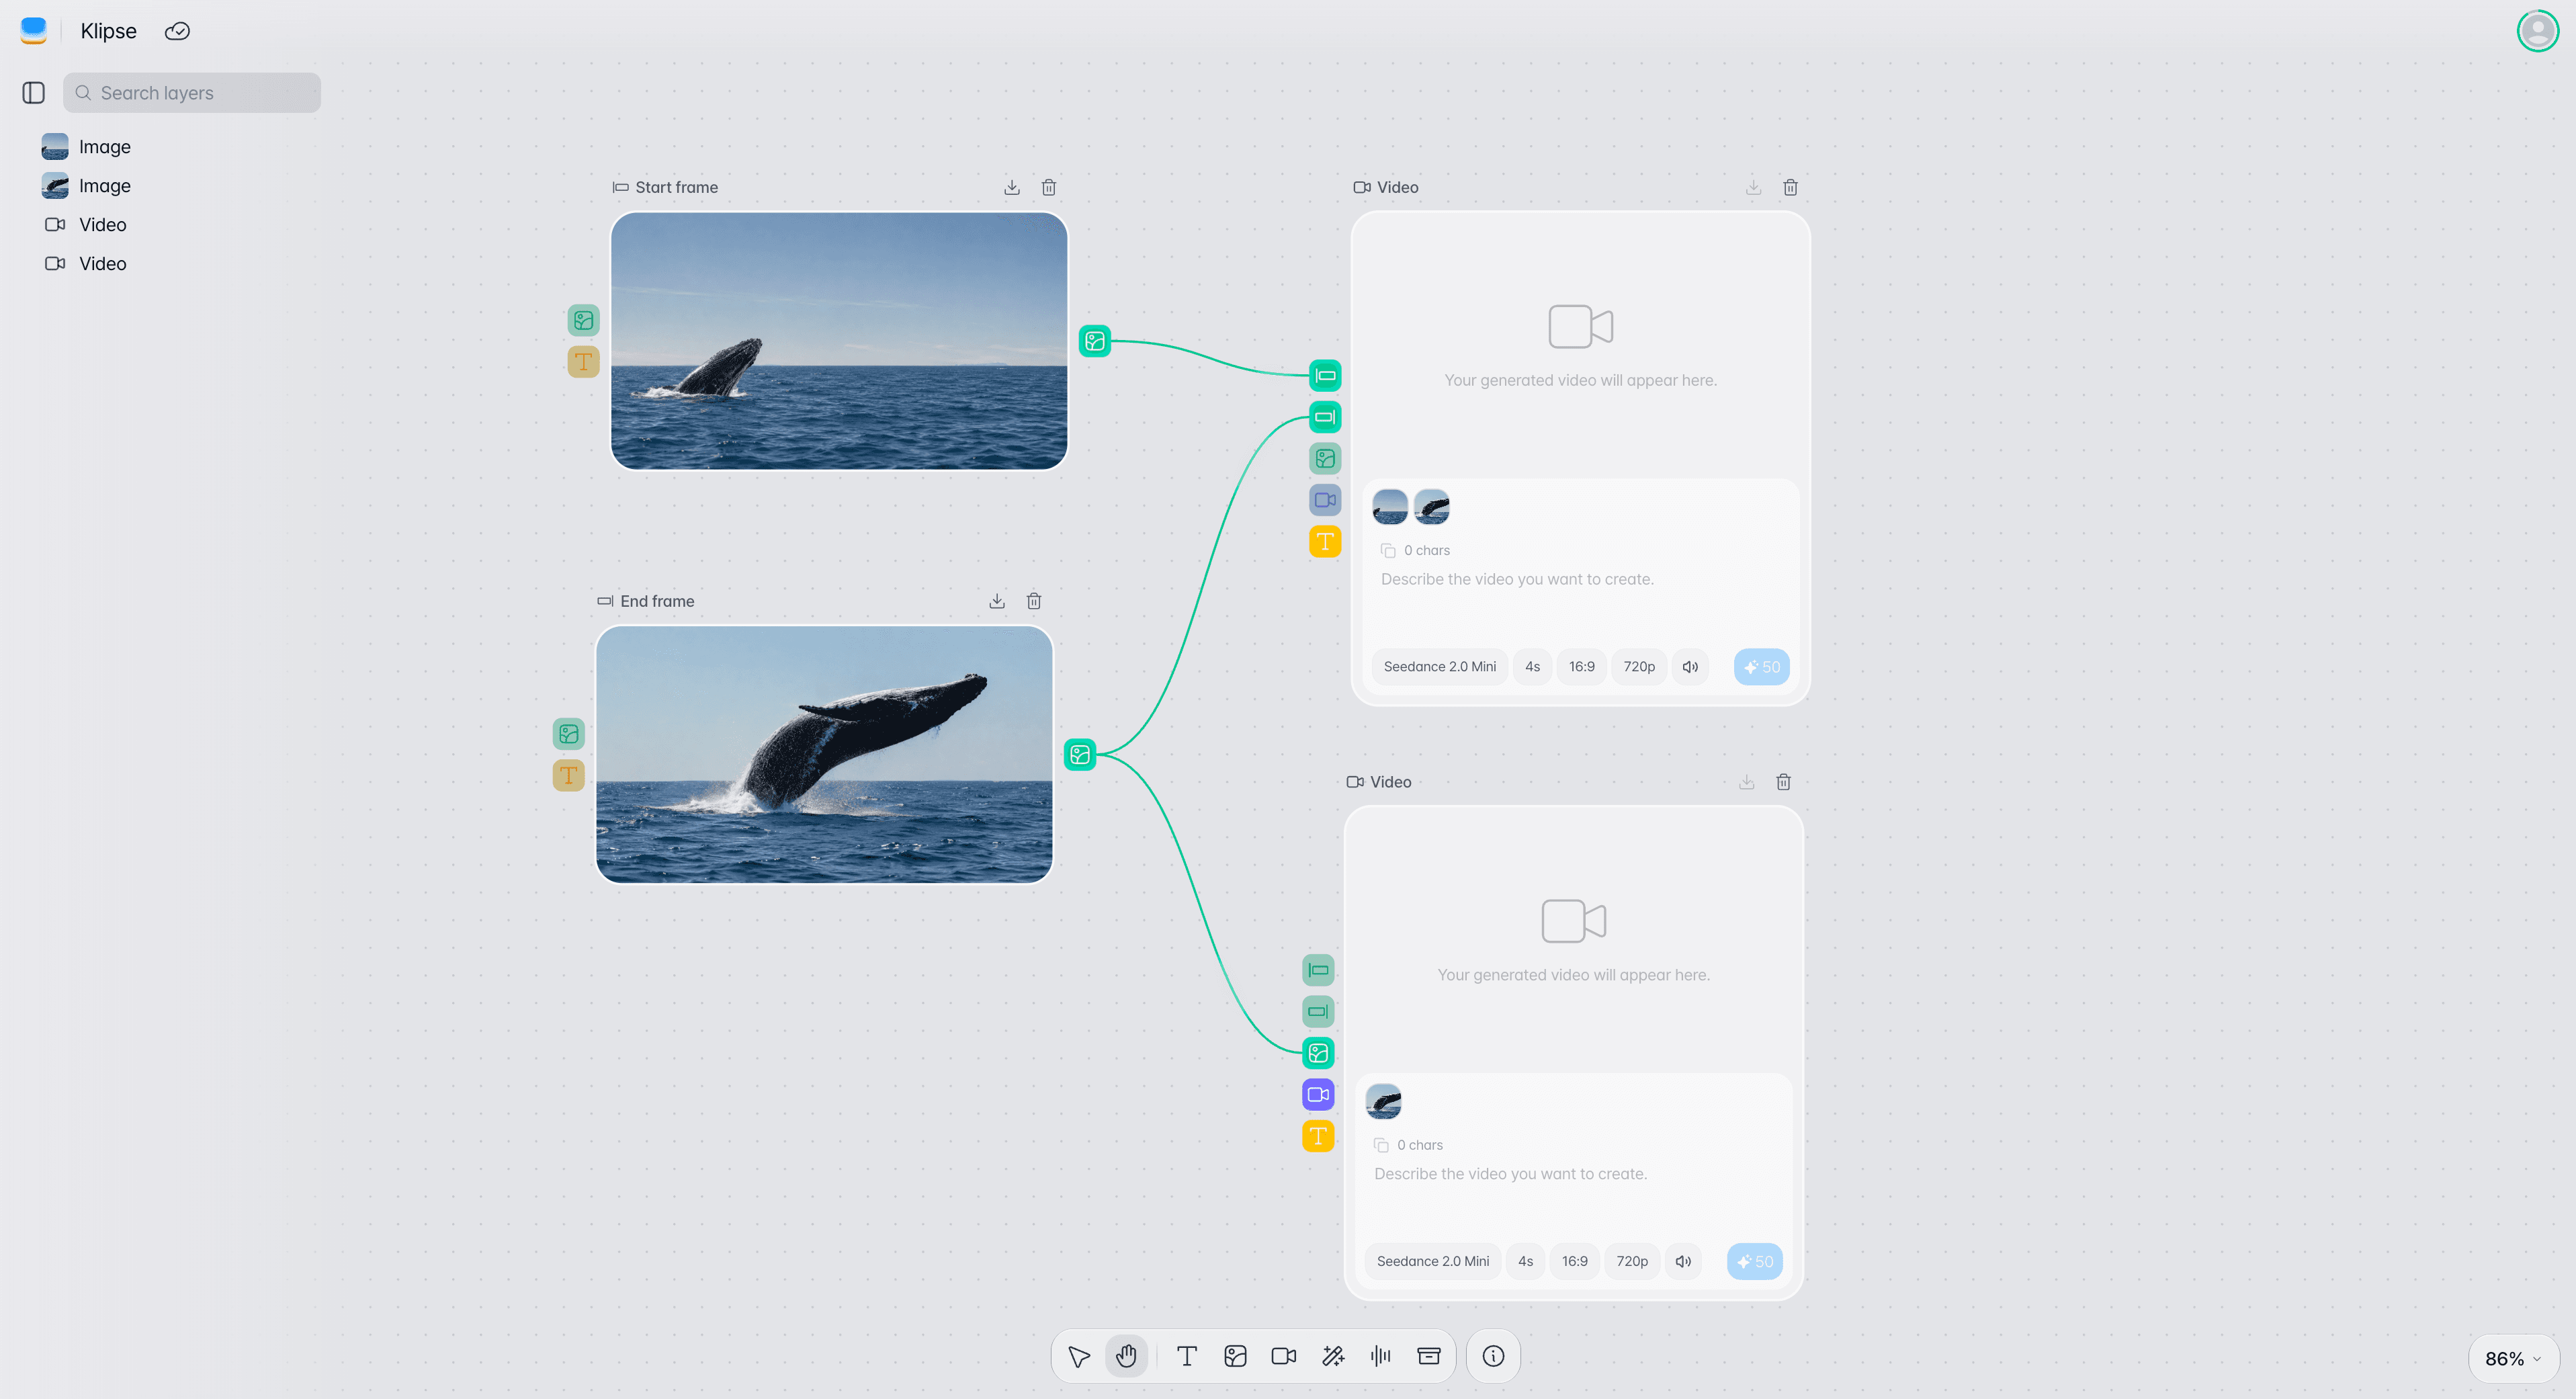
You can upload an image directly to an image node and use it as a start or end frame, or as a reference image, when producing video.
Arranging and tidying nodes
Drag a node to move it wherever you want. Keeping related work close together makes even a complex workflow easy to follow.
Tip
Arranging nodes in the order the work actually happens — text → image → video, left to right or top to bottom — makes the flow of connections quick to read.
Saving and managing projects
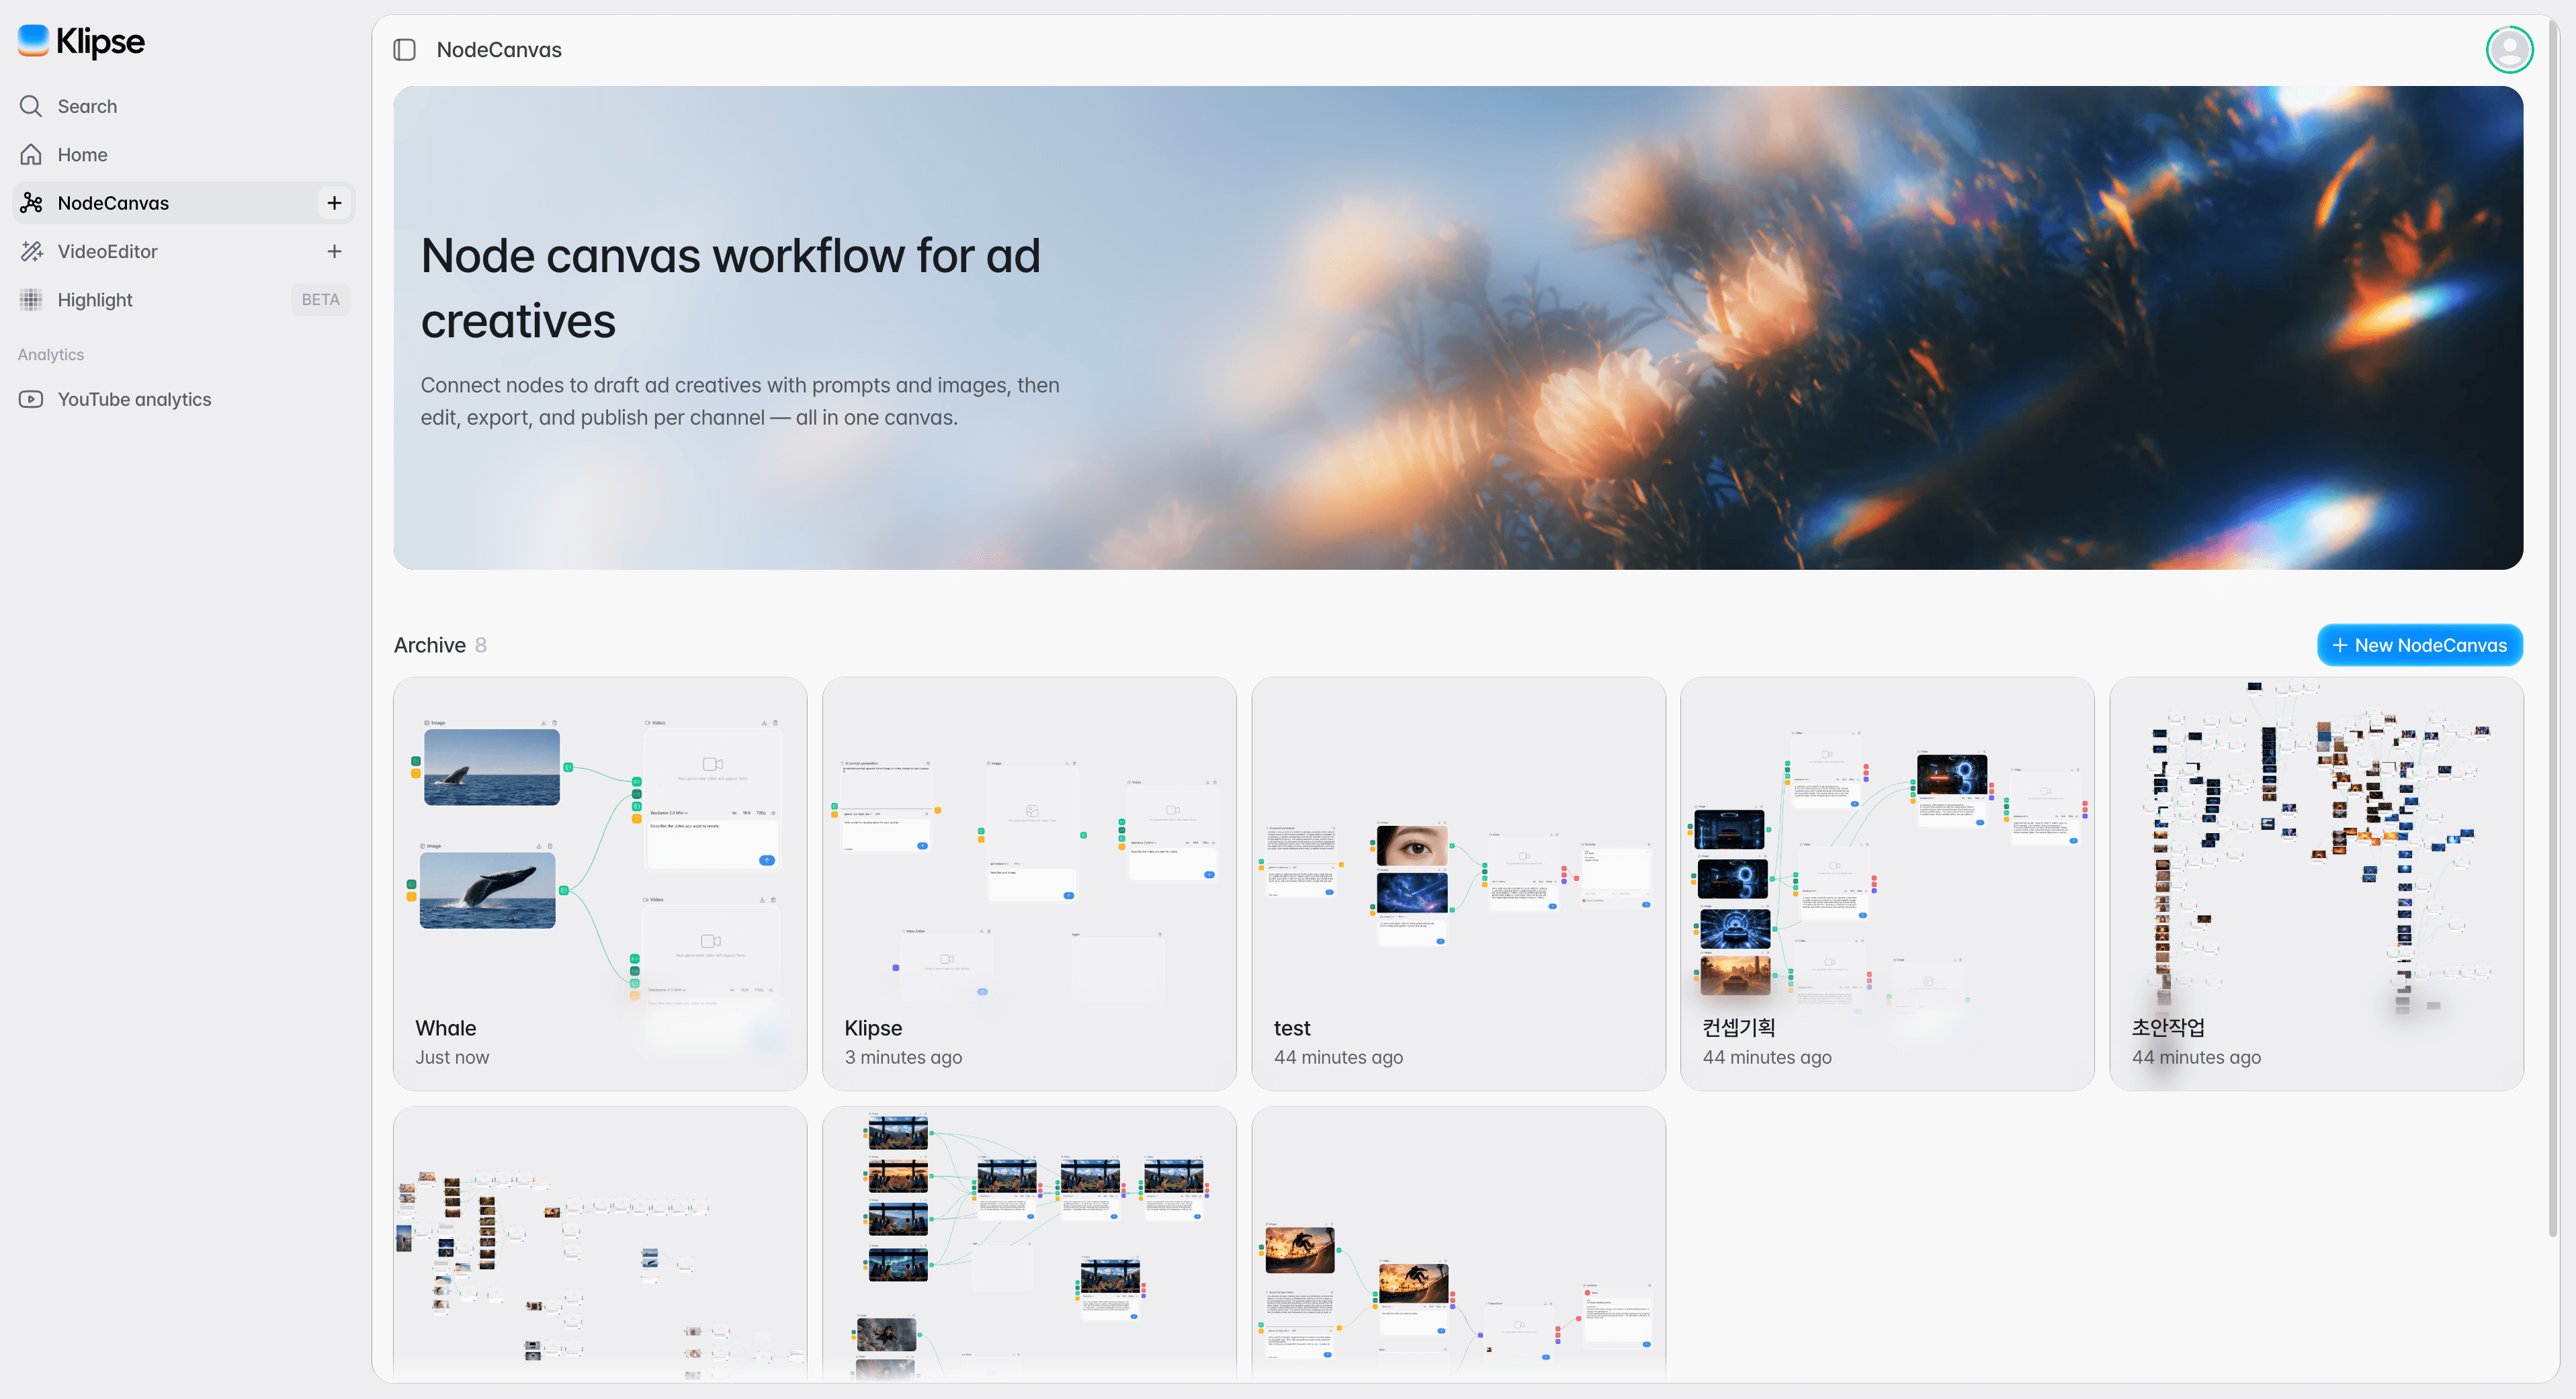
Work you build in Node Canvas is managed as a project.
Save
Save the Canvas you worked on so you can open it later and pick up where you left off.
Naming
A project name that makes the content or campaign purpose clear keeps multiple pieces of work easy to tell apart.
Reuse
A production flow you use repeatedly can be reused with an existing project as the starting point.